-

-

Friday, November 15, 2013

Propagating Some Berries


Despite the fact that Winter is about to start in earnest, be assured Summer is coming. And just like dreaming over seed catalogs can make the cold dark times pass more easily, so can the the knowledge that the new berry plants you put in the ground this fall (for free!) are going to gift you with their treasures for years to come.
Fall through early Winter is a great time to divide and transplant perennials and berries and this is why;

If you plant in the spring you will have to wait for the soil to be dry enough to work. If you dig when the soil is wet you will destroy the soil structure, especially if you have clay soil. Planting in the Spring means waiting for the weather to improve and forces your berry starts to lose a good month of time to get established. Also, by that time the plants are already growing tender shoots and root hairs which will be bruised and broken by the time they are dug up, potted, transplanted or otherwise handled. Setting them back even further.

Because of this, I find berries are easiest to divide and transplant when they are about to sleep for the winter. They have fewer tender leaves and larger root balls and if I divide and plant a month or two before the hard freeze, they can get their roots settled in and they are much less traumatized than they would be in the spring. Of course there will be no real visible growth but as soon as the barely warm, early spring hits they will burst into action, making more roots and then top growth. They will start growing the very second that the weather allows.
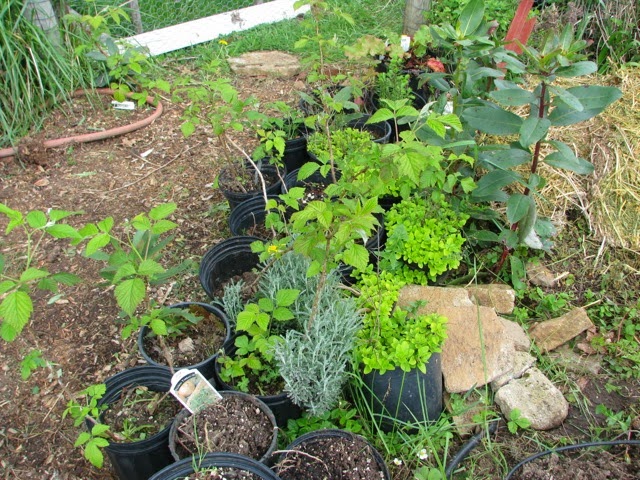
 
And the best part about planting in the Fall is that you don't have to worry about keeping them watered. Nature does all the work. Unless, of course, you live in a very low rainfall area, then you will need to keep the transplants well watered until they get a root mass large enough to sustain the plants.
 
Raspberries are pretty easy to propagate and transplant since they spread by fairly shallow, long roots that travel under ground and sprout several new plants called "suckers". You can divide clumps of Raspberries but it is much easier to just dig up suckers.
Heed my warning in my post about planting raspberries in a garden or flower bed where you have other things planted. When it comes to Turf Wars, Raspberries will win.

Raspberries took over my Blueberries a couple of summers ago. I have dug them all out of the area since then and put the babies into pots and gave them to friends.

 
If you have baby raspberries taking over an area, this is a great time get all those suckers dug up and to move them to a better spot. What is a better spot? In all my years of growing raspberries the one bed that has been the very best behaved was one that was planted in the corner of the lawn and was isolated by the regular mowing of the grass that surrounded the bed.


Marion Berries are hands down the number one favorite berry in our family and it is for one single reason.
File:Marionberries (2493507934).jpg

It makes the best jam you have ever tasted. Buck makes batches of jam every year and, unlike other jams, we never have any to give away. We eat it all.

Marion berries are a large, juicy and tangy sweet variety of Blackberry that was developed in the 50's here in Oregon. It's flavor is far superior to any other blackberry I have ever tasted. The vines have some nasty thorns so you don't want to plant them by a walkway or play area. 

The vines are easy to control though, unlike the raspberry because they propagate by "Tip Rooting." The very tip of each vine will grow roots and become a plant. If you keep the tips from touching the ground, Marion Berries will pretty much stay where you put them. To keep them from touching the ground, the long canes are rolled into loops and fastened to a wire stretched between posts.

 
Its pretty easy to start some new Marion Berry babies by putting a vine tip into a pot and setting a rock on it. Let the summer pass and you will have a rooted plant in a pot! How easy is that?
When the plant is firmly rooted, just snip the old vine near the new plant and either plant the new plant or keep it in the pot, but be sure to put the pot where it will get watered until you figure out where you want it.


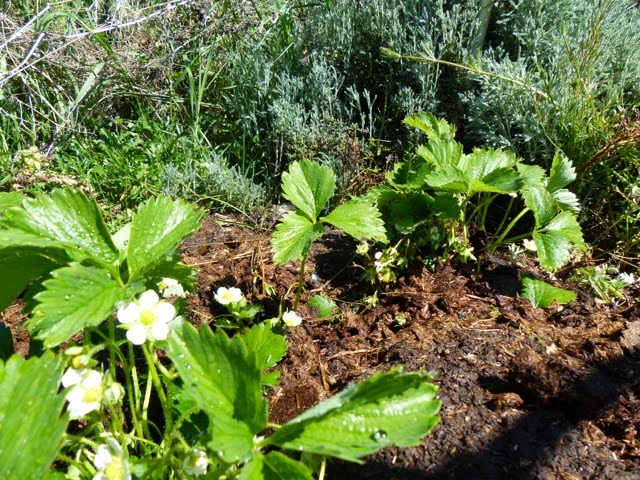
Strawberries are also easy since they send out long "Stolons", fleshy horizontal stems which sprout baby strawberry plants at each node along the way.
 
 
Strawberries hate being planted too deep in the soil. They like to sit on top of well drained soil with their crowns high in the air. So it is much easier to keep them alive if you direct the runners to where you would like the new plants and pin the Runner down with a rock or garden staple. Once the babies get a real root ball, at the end of the summer or the next spring, you can cut the runner and leave the babies where they are or dig them up to move them elsewhere.
If you move them, take care to plant them the same depth they were growing at, and be careful to account for fluffed up soil which will sink down after a few waterings.  If the roots are exposed after watering add a little compost to cover just the roots, not the crown. Then mulch well to protect their shallow roots. They're called "Strawberries " for a reason after all!

Tuesday, November 5, 2013

Three Bags Full


You might remember my "Divide and Conquer" post where I put in this herb bed. Since then it has really done well!


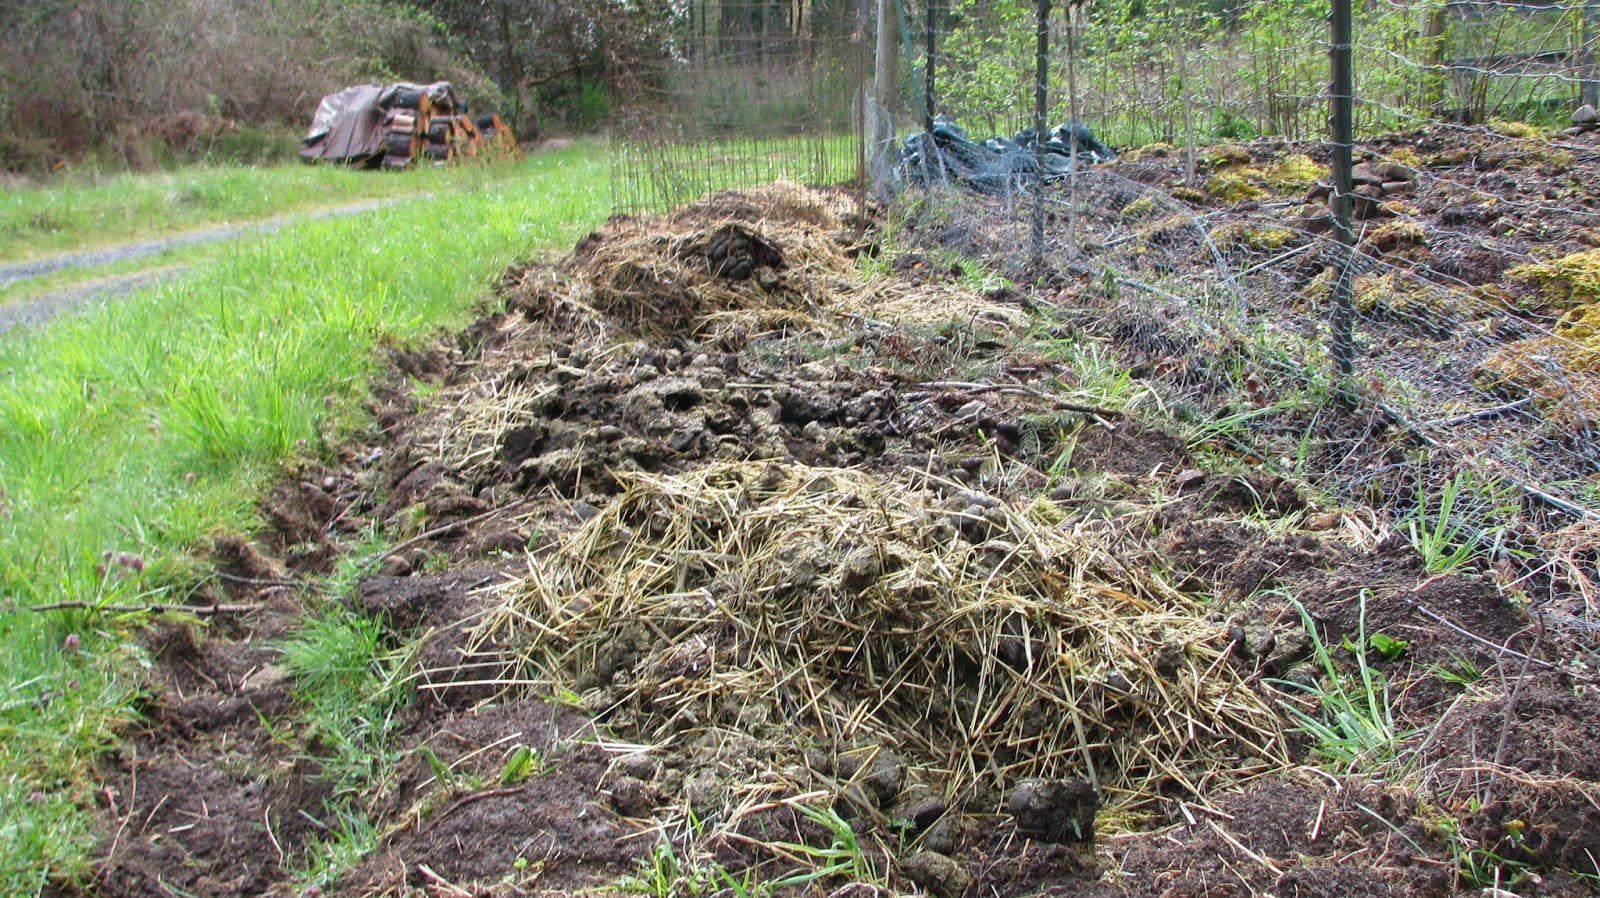
 These herbs all grow really well in the rocky, well drained soil that we have and the fact that I keep throwing horse poop in their general direction does not seem to hurt their feeling at all.

I have two kinds of oregano: Golden and Italian. Their flavor is pretty much the same, so the only reason I have two kinds is because I love the way they look next to each other.
The bees love their small pinkish blooms and I cannot bear to cut them down until the weather turns cold and the bees are staying in the hive. When I do cut them, I try to do it on a sunny day so that I can keep the cuttings and dry them for winter cooking. Underneath the tall stocks are the tiny leaves of next summers Oregano. 


Also needing to be tidied is the Rosemary bush which sends out long branches in all direction each summer.


Some of the branch tips get pushed into soil for rooting new plants. Others get dried and the needle-like leaves are pulled off the branch and put into jars and bags for the spice rack. I like to keep the woody branches to use as skewers for lamb or beef on the BBQ. And if I am feeling lazy, I just throw the whole dried branches on the coals under steaks and put the lid back on, fantastic flavor with no work at all.

The sage plant is actually pretty well behaved but she gets a haircut too. Thanksgiving and Christmas need those fuzzy leaves to flavor the stuffing, baked chickens and turkeys.


I don't get fancy with drying these herbs. I just clothes pin the tops of the paper bags shut (to keep out dust) and set them a safe distance from the wood stove. The top of the fridge is a good spot too. It is surprisingly warm up there. Two weeks later they are dry and ready to jar up.

Wednesday, October 30, 2013

Mushrooms On a Log


So, now that I've talked up wild mushrooms as the best things ever to hit a soup pot,  I must admit


that I am trying to grow some mushrooms myself.

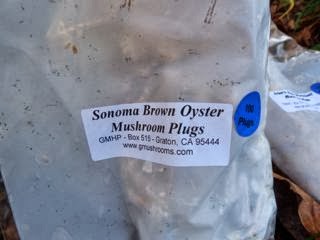
A couple of years ago I purchased a kit for Sonoma Brown Oyster mushrooms and Lion's Mane mushrooms. Why those? Just because they would grow in Maple logs and I knew I would always have a ready supply of them. The Big Leaf Maple is practically a weed here in the Willamette Valley.
You may have noticed I said "a couple of years ago".

I actually never got around to using them because the envelope with the mycelium plugs in it had fallen to the back of our very unpredictable refrigerator and froze. They were all brown and slimy so I assumed they were dead and left the envelope in the back of the fridge for TWO YEARS. Can anyone out there beat that for procrastinating?

In my defense we are talking about a spare fridge which does not get used for much except canning overflow and summer produce.

Anyway I cleaned that fridge out last week and lo and behold, the mycelium plugs were white and fluffy!

As luck would have it, or sad to say, depending on how you look at it, we had fresh cut Maple logs on hand.
Our beloved Maple which was somewhere around 200 years old, had given out in the heavy rain we had this fall. We are very sad and miss her every day.

But then I had these limbs for my mushroom project.
A 5/8" hole is drilled, the mycelium plug pounded in and then hot bees wax is poured over the hole to keep out competing fungi.


Every 4" all around the log.

This project took about an hour per log, which adds up to 4 hours. Oh, my aching back!

Mr. J kept climbing on the logs and letting me know that he was bored and that he thinks that log mushrooms are absolutely no fun and he feels I would benefit much more from crawling around in the woods looking for mushrooms with him. He may be right.
Now we will see if it all worked right... in... about a year. I'm not getting my hopes up, but I will be excited when, and IF, I get some Lion's Mane mushrooms next Fall.

Wednesday, October 23, 2013

Foraging For Fungi


I have been crawling around in the underbrush, following deer and rabbit trails since I was a little girl in search of, among other things, the elusive Chanterelle mushroom.


Chanterelles are among the easiest mushroom for beginners to ID and that is why my family trusted me, as a small child, to bring them home for dinner every Fall.


Since everyone has heard horror stories about eating the "wrong" mushrooms,  I don't really think I need to stress how careful you need to be when gathering mushrooms. We all know that you need to be very careful when identifying mushrooms in the wild.

With that said, I spend a lot of time convincing people to eat wild mushrooms. I have found that friends and family tend to be a little nervous about the mushrooms on the table, and they must be assured beyond a shadow of a doubt that they were wild crafted by someone who knew what they were doing.

It's a shame that wild mushrooms are so hard for people to enjoy. Their taste is beyond compare! No farmed mushroom can even come close to the flavor of a wild mushroom. So, it is really worth learning to ID a few kinds of mushrooms if you like to hike or ramble in the woods and eat good food.

These are Common Puffballs which are delicious and just as their name indicates - common. They are everywhere this Fall.

Just because I have been picking a few types of mushroom since I was little, it does not make me an expert. I have been slowly learning to identify more and more kinds of fungi over the years from books and other more senior mushroom hunters.


My favorite book on the subject is one that June got me for Christmas a few years ago. It is the simplest reference book for wild mushrooms I have ever found. And it is because of this book that I have happily discovered the Red Cracked Bolete.
 

When I was little, I was convinced this mushroom was poisonous and no adult told me otherwise. It is a crazy looking mushroom with "tubes" instead of gills and if that isn't weird enough it "bruises" blue!


It is delicious and it turns out to be one of the few edible mushrooms that is safer for a beginner to ID. No look-a-likes (except other edible mushrooms in the Bolete family, some don't taste good and a few will make you sick, but none of them will kill you) and it seems to grow everywhere. It is not elusive like other wild mushrooms. It is literally growing in our front yard here on the homestead.


What  am doing for this mushroom season, other than eating and eating mushrooms, is drying them to use in stews, sauces and soups for the rest of the year. The flavor is indescribable, it's effect is almost like MSG, the soup tastes delicious but you can't really tell what makes it so amazing. The secret? Just a couple of diced up, dried wild mushrooms.


Chanterelles do not dry well, so I sauté them in lots of olive oil and put them in the freezer to spoon into my scrambled eggs this winter. YUM!


Wednesday, September 11, 2013

Life Aqautic on the Homestead (part 2)


Our Littlest Friend dips his toes in the cool water of one of my ponds.

Last week I wrote about why I love my ponds. This week I thought I would give a few pointers for "pond" building. Of course, in the Homestead context I am also including garden barrels and animal troughs as ponds.
I don't think the Internet needs another tutorial about building a basic pond so I will just focus on the helpful features and techniques I have learned through the experience of building several ponds.
This is one of my latest and favorite ponds that I have built. It is 5 feet long 3 feet wide and 3 feet deep. I didn't add any critters, not even snails. I just let nature takes its course and now it is a thriving and balanced ecosystem. In fact, as you can see, the plants need thinning, they are growing so well.
I did not introduce any animals to this pond. Only plants and water. A couple years later it is swimming with Rough Skinned Newts, Chorus frogs, skipper bugs, oar beetles and snails. Where do they come from? I have seen a newt walk up the driveway one rainy spring day. I have seen beetles fall from the sky into the water. Since I have often seen slugs and snails tangled in my dogs fur I don't doubt some of these creatures hitch hike their way into the pond. Regardless of how they get there, I am always happy and amazed to see them.

This spring, I spied a Columbia Spotted Frog  hangin’ out in it. If you look carefully you can also see a Rough Skinned Newt peeking up in the middle.The plants you see are goldfish grass, duckweed and a hardy Water Lilly.


You can also see the Butyl liner I used. It is very thick like a car tire inner-tube. It is non toxic and thick enough to last through dog, cat and raccoon toenails. I had it concealed more effectively in the past but all the many visitors to the edge of this pond have degraded my rock ledge. Keep that in mind when you build your own pond. Make the edges very stable because the allure of a pond is irresistible and you DO NOT want to take the pond out to make repairs once wildlife moves in.

Which bring me to a necessary caution. Please don't forget that with a pond comes a responsibility to supervise children and pets.
Even if you don’t have small children, you might have a visitor someday who does. Every visiting child is delighted to see a pond. It is a very magical place for them.

When our Littlest Friend comes to visit we inevitably spend a half hour or so watching the newts and frogs and if there is no wildlife to be seen, off come the shoes for a little toe dip.

Our dogs and visiting dogs alike, love to drink the water from the pond. You can tell it is a special treat for them. We have also had visiting dogs run straight into the pond. They thought the Lilly pads were solid ground! They have a very funny look on their faces when they sink. Some go in for a second time because it was apparently so fun. Or they're slow learners.

Because our ponds are such a popular place for kids and animals I put an added precaution.  I always build an easy exit from my ponds. I include a shallow end and ledges that build up to that shallow end, like steps, so that animals and people can easily escape the water should they fall in.

Even if you live in the city you will have varmint problems. Blue Herons, Kingfishers and Raccoons are very happy to fish out their dinners from your pond. We have a blue Heron that will sit on the crest of the roof and watch for fish in our biggest pond. The only fish that are left in this 14 year old pond are huge black goldfish. We can't even see them unless the sun shines just so.

Raccoons love to come at night and fish out all the snails to eat for dinner. You will see goldfish grass draped all over the edges of your pond when you get up in the morning.

To give pond life a place to escape to I try to include a deep spot at least 2 1/2 feet deep, so that pond creatures can hide down there, out of reach. It helps quite a bit. I have also added black "Milk Crates".


I get them from the storage section of our department store. They don't show from above the pond and they make it even harder for the Herons and Raccoons to chase down and catch the amphibians and fish. They also make the pond a little safer for animals that fall in since they can be stood on. The crates can make a great place to set plant pots too.

At the Homestead we have a lot of water troughs and half barrels, for the horses, chickens or providing water for the Honey bees. I have been converting each of these into little ecosystem ponds. I only use Goldfish grass and duckweed for troughs since they are nontoxic and harmless to my goofy horses who like to eat them.

This is the root system, but Goldfish Grass will grow new roots if you just have a snip of the plant.


I put the roots and ends of pieces without roots in an old recycled container of any sort.

Then a little clay or goo from another pond or even loose dirt from a gopher hole (don't use garden dirt, it has too much nitrogen in it) and then pile rocks on top to hold them down. Silt and organic sediment will form as the pond ages and the plants will grow roots into it.


The goldfish grass will grow to the top and lay across the surface sending a few roots into the water and blooming tiny white blooms. It looks a little messy when you walk up and look at the trough (the leaves that touch air will turn brown) but, if you stick your hand in the shaded water underneath the plants you will feel that the water is 10 degrees cooler. The animals- dogs, horses, cats, birds- all go straight for the pond water, choosing it over any other source. It must taste yummy and very refreshing on a hot day.

 
For years I had to drain the mosquito larvae infested water and scrub the red algae out of my troughs and water barrels a couple times a summer, which was a real pain. I set up my first trough as an ecosystem about eight years ago. It has been a great discovery for me. It’s made a big improvement in water quality for all. Instead of having hot stale water with red algae in it to drink, the animals now have cool, fresh, oxygenated water.
When the duckweed gets this thick I just skim handfuls off and toss it in the garden for mulch. You want only 30 to 50 percent of the surface covered. This keeps the water cool but lets the goldfish grass underneath get some sun also.

Rio has to have his goldfish grass replaced now and then because he can’t just be a normal horse. He likes to put his head under water like a Hippo and eat the grass on hot days. What a nut.


 Here are just a few of the resources I found on line for designing and building ponds. Don't get too caught up in all the talk about pumps and filters and water falls, you can have them if you want, but you don't need them. Just start small and go from there. Most of all, have fun!
http://deepgreenpermaculture.com/diy-instructions/building-a-small-water-garden/
 http://www.lochnesswatergardens.com/pondblog/clearing-your-ponds-green-water/
http://www.butylproducts.co.uk/Products-Services/Ponds-Lakes/LiningMaterials/
http://www.wildewaters.co.uk/pondlineradvicesheet.htm